
Many active women struggle to pinpoint the right muscles when starting Kegel exercises, making it frustrating to see real progress. Pelvic floor muscles work like a sling holding your pelvic organs in place, supporting healthy function and recovery after workouts. Learning to identify and control these muscles is the first step to stronger practice, enhanced core support, and a greater sense of body confidence, all starting with clear, simple techniques anyone can master.
Table of Contents
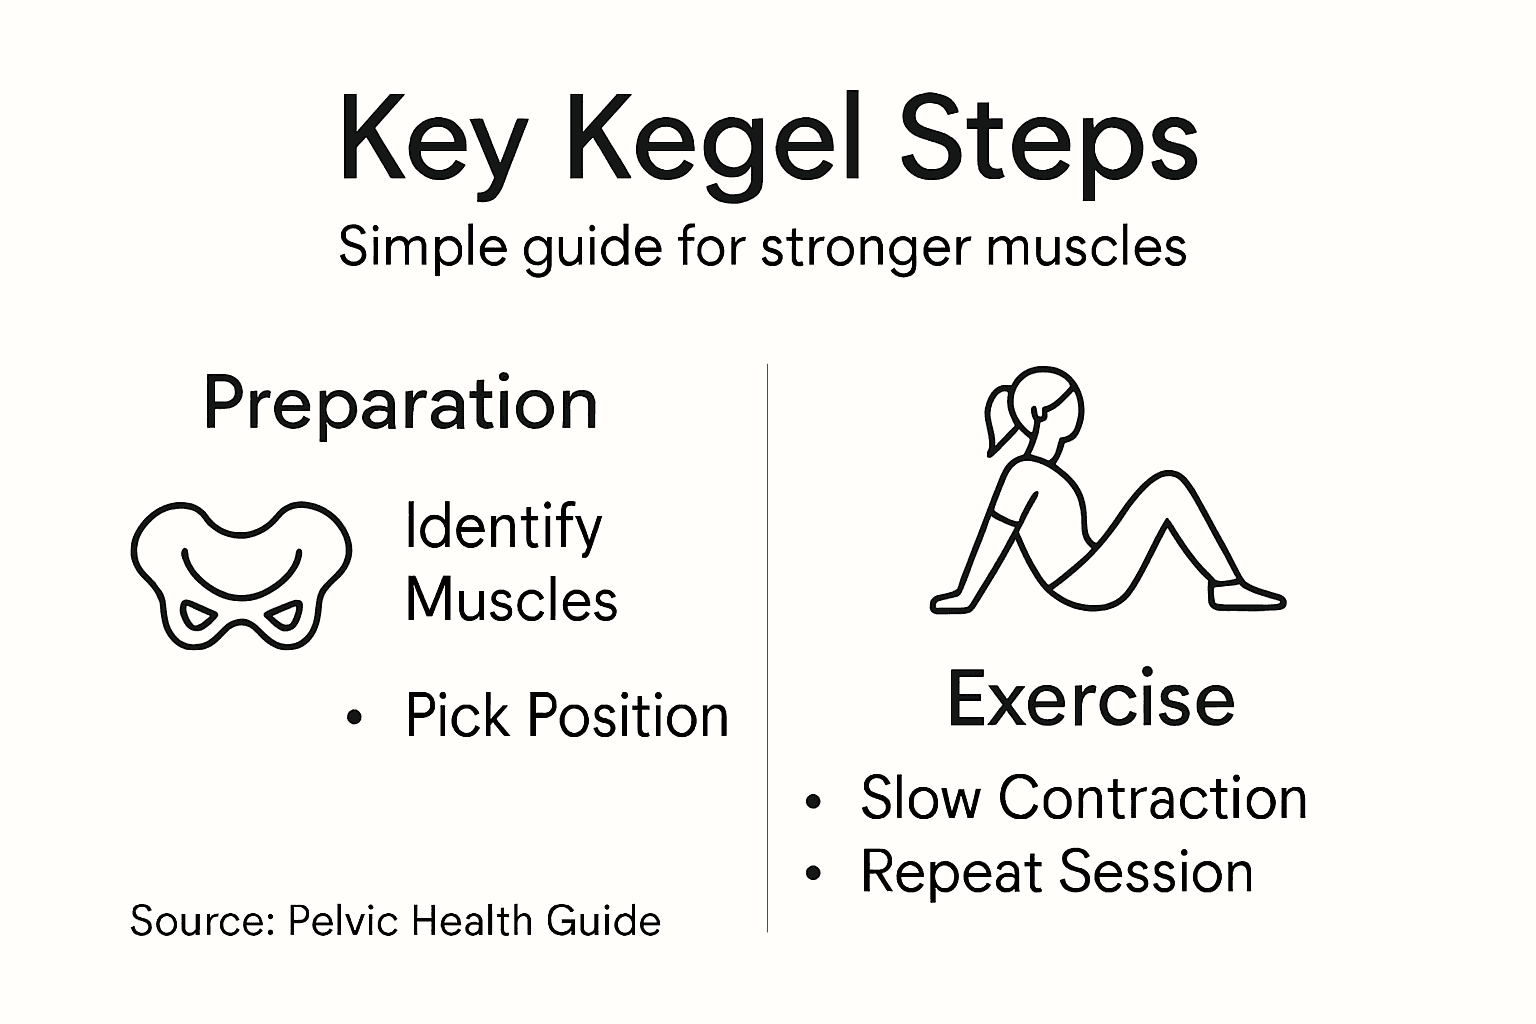
- Step 1: Identify Pelvic Floor Muscles Easily
- Step 2: Adopt Proper Position for Kegel Exercises
- Step 3: Perform Correct Kegel Exercise Movements
- Step 4: Track Progress and Refine Technique
Quick Summary
| Key Insight | Explanation |
|---|---|
| 1. Identify Pelvic Floor Muscles | Practice stopping urine flow to locate pelvic floor muscles effectively. Beware not to engage thighs, abs, or glutes. |
| 2. Use Proper Positioning | Start Kegel exercises lying flat to minimize resistance and ensure focus on the pelvic floor without engaging other muscle groups. |
| 3. Follow Correct Contraction Steps | Perform controlled contractions for 3-5 seconds, focusing on breathing normally throughout each repetition to maximize effectiveness. |
| 4. Track Progress Regularly | Keep a log of contraction duration, repetitions, and urinary control improvements to motivate and identify patterns in your practice. |
| 5. Seek Professional Guidance | Consult a pelvic physical therapist if progress stalls or if technique issues arise, to receive tailored advice and biofeedback. |
Step 1: Identify Pelvic Floor Muscles Easily
Finding your pelvic floor muscles is the foundation of successful Kegel exercises. These muscles act like a sling holding your pelvic organs in place, supporting your bladder, bowel, and reproductive organs. Once you locate them, you’ll know exactly what to contract during your workouts.
The easiest way to identify these muscles is to think about stopping urine flow. Next time you’re using the bathroom, try to pause your stream mid-flow without tensing your legs, buttocks, or abdomen. That stopping sensation? That’s your pelvic floor working. Pay attention to where you feel the contraction.
Here’s what to focus on:
- Contract inward muscles in the perineal area between your genitals and anus
- Avoid tightening your stomach, thighs, or glutes simultaneously
- Feel the lifting and squeezing sensation in your pelvic region
- Note any movement in sensitive areas (men may notice base-of-penis movement)
Another way to verify you’ve found the right muscles: imagine preventing gas release by contracting inward. The contraction should feel internal and controlled, not like you’re squeezing your outer thigh or clenching your buttocks.
Once you’ve identified the sensation, practice without using the bathroom. Sit or lie down comfortably and perform the same contraction. Hold it for a second, then release. You should feel the lift-and-release cycle clearly. This awareness is critical before starting actual Kegel routines.
The key to effective Kegels is knowing you’re engaging the correct muscles—not your glutes, not your abs, just your pelvic floor.
Men and women use the same basic identification method, though pelvic floor muscle structure varies slightly between bodies. Both can feel the internal contraction once they locate it.
Here’s a quick comparison of pelvic floor muscle identification techniques for men and women:
| Technique | Women | Men |
|---|---|---|
| Urine flow stopping | Pause stream while urinating | Pause stream while urinating |
| Gas prevention | Contract inward to prevent gas | Contract inward to prevent gas |
| Sensation location | Lift between vagina and anus | Lift at base of penis and perineum |
| Verification tip | No movement in thighs or glutes | No movement in thighs or glutes |
Pro tip: Don’t skip this identification step, even if it feels simple. Many people waste weeks doing Kegels incorrectly because they’re contracting the wrong muscles. Spend one week just practicing the identification without doing formal exercises—it’s the fastest path to results.
Step 2: Adopt Proper Position for Kegel Exercises
Your position matters more than you might think when starting Kegel exercises. The right posture helps you isolate your pelvic floor muscles and build awareness without accidentally engaging your abs, glutes, or other muscle groups. Getting this right from day one sets you up for faster progress.
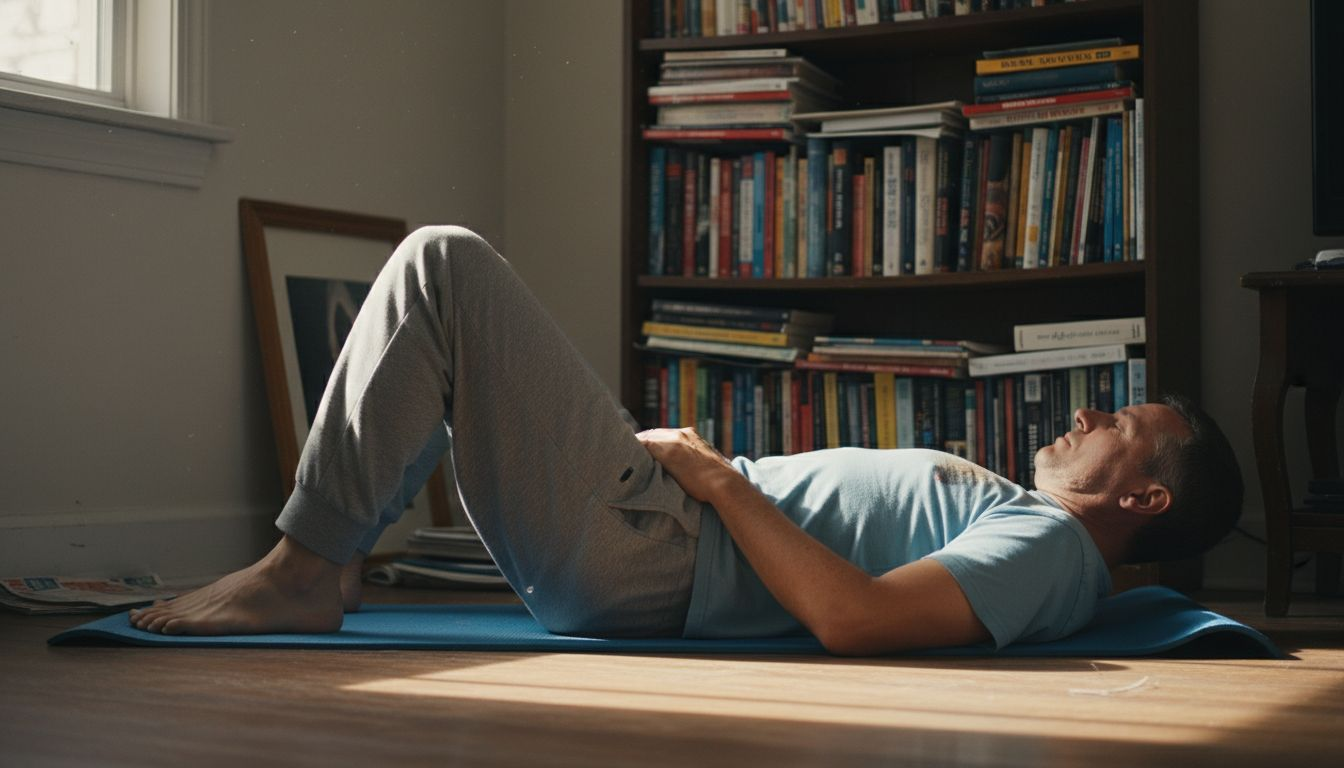
Start with lying down flat on your back. This is the easiest position because gravity works with you, not against you. Bend your knees slightly and keep your feet flat on the floor or bed. Your arms should rest at your sides or on your abdomen. This position gives your pelvic floor the least resistance, making it simpler to locate and contract the correct muscles.
As you progress, you can move to more challenging positions:
- Sitting position: Once lying down feels easy, sit upright on a chair with your feet flat on the ground
- Standing position: After several weeks of consistent practice, stand with your feet shoulder-width apart
- Daily activities: Eventually, perform Kegels while walking, working, or sitting at your desk
The key across all positions is maintaining a neutral spine and relaxed muscles throughout your body. Your abdomen, glutes, and thighs should feel loose and comfortable. Focus your entire attention on the pelvic floor contraction alone.
When you’re ready to transition between positions, do so gradually. Spend at least one week in each position before advancing. This ensures your pelvic floor muscles develop strength and control properly. Rushing through positions often leads to cheating by using stronger muscles like your quads or hip flexors.
Keep your body relaxed and focus solely on the pelvic floor muscles during each contraction and relaxation phase.
Remember that starting in comfortable positions helps novices isolate muscles more easily. There’s no shame in staying with lying-down exercises longer than expected. Your muscles adapt at their own pace.
Pro tip: If you’re struggling to relax other muscles while doing Kegels, place one hand on your abdomen and one on your glute. You should feel no movement under either hand—only your pelvic floor should be working. This biofeedback trick prevents compensatory muscle engagement and accelerates progress.
Step 3: Perform Correct Kegel Exercise Movements
Now that you’ve identified your pelvic floor muscles and positioned yourself correctly, it’s time to perform the actual contractions. The movement itself is straightforward, but precision matters for building strength efficiently. You’ll follow a simple squeeze-and-release pattern that trains your muscles over time.
Start by slowly contracting your pelvic floor muscles. Tighten them as if you’re stopping urine flow or preventing gas release. The contraction should feel controlled and internal, not rushed. Hold that squeeze for a count of 3 to 5 seconds while breathing normally throughout.
Here’s the step-by-step process:
- Contract your pelvic floor muscles steadily over one second
- Hold the contraction for 3 to 5 seconds without holding your breath
- Slowly relax and release completely over one second
- Rest for 10 seconds before the next repetition
Repeat this cycle 8 to 12 times per session. Start with 8 repetitions if that feels manageable, then gradually work toward 12 as your muscles adapt. Perform these sessions several times daily, spacing them throughout your day for optimal results.
When holding contractions for a few seconds, focus on quality over speed. A slow, controlled squeeze activates more muscle fibers than rapid pulses. Your muscles need time under tension to develop strength and endurance.
One critical rule: keep breathing normally throughout each repetition. Many people instinctively hold their breath during muscle contractions, but this reduces oxygen delivery to your pelvic floor and diminishes exercise effectiveness. Breathe in before you start, then maintain steady breathing as you contract and release.
Consistency and proper technique are key to strengthening your pelvic floor muscles over time.
Over several weeks of practice, you’ll notice your muscles can contract more strongly and for longer periods. This progression happens naturally as your neuromuscular control improves. You might extend holds from 5 seconds to 8 or 10 seconds without forcing the adaptation.
Pro tip: Set phone reminders three times daily to perform your Kegel sessions. Morning after coffee, afternoon at lunch, and evening before bed creates a sustainable routine. Pairing Kegels with existing habits like brushing your teeth or commuting eliminates the need for willpower and ensures you never skip sessions.
Step 4: Track Progress and Refine Technique
Tracking your progress keeps you motivated and helps you identify what’s working. Without measurement, it’s easy to plateau without realizing your muscles have actually strengthened. Creating a simple log reveals patterns and shows real improvements over weeks and months.
Start by noting improvements in urinary control. Can you stop your urine stream more completely than before? Do you feel fewer leaks during workouts or when sneezing? These real-world improvements are the truest measure of pelvic floor strength. Write down specific observations weekly in a notebook or phone notes app.
Track these measurable markers:
- Muscle endurance: How long you can hold a contraction (increasing from 5 to 10+ seconds)
- Repetition capacity: Number of contractions before fatigue sets in
- Daily episodes: Frequency of leaks or urgency situations
- Sensation awareness: How clearly you feel the muscle lifting and engaging
Beyond basic tracking, refine your technique by ensuring no substitution with other muscles. Periodically place your hands on your abdomen and glutes while performing Kegels. You should feel zero movement under those hands. If you notice engagement elsewhere, reset and focus purely on your pelvic floor.
As weeks progress, gradually increase your challenge. Move from 5-second holds to 8-second holds. Advance from 8 repetitions to 12. Add an afternoon session if you’ve been doing only morning and evening. Small incremental increases prevent plateaus and keep your muscles adapting.
Here’s a summary of key Kegel training progression milestones:
| Milestone | Typical Timeline | What Improves |
|---|---|---|
| Muscle identification | 1 week | Increased body awareness |
| Lying-down contractions | 1 week | Precision of pelvic floor movement |
| Sitting & standing | Weeks 2-3 | Muscle endurance and control |
| Activity integration | Weeks 4+ | Strength during daily movement |
| Hold duration increase | 3-5 weeks | Longer, stronger contractions |
Consistency and mindful practice are essential for long-term improvement and pelvic health.
If you hit a wall or notice regression, seek professional pelvic physical therapy to get personalized feedback. A pelvic health specialist can assess whether you’re compensating with wrong muscles or if your technique needs adjustment. Biofeedback devices also provide real-time feedback about muscle engagement patterns.
Pro tip: Create a simple spreadsheet with columns for date, session time, hold duration, repetitions completed, and how you felt. After four weeks, review it to see your progression. Seeing 3-second holds become 8-second holds on paper motivates you to push harder and stay consistent through the tough middle weeks.
Strengthen Your Pelvic Floor with the Right Fitness Gear
Mastering Kegel exercises starts with identifying and isolating your pelvic floor muscles carefully as the article explains. Building strength and endurance in these muscles requires consistent practice, proper form, and optimal body positioning. To support your fitness journey, having the right equipment can enhance your focus and comfort while training. Whether you need support for your core during exercises or want to maintain correct posture, gear like weight lifting belts can play a vital role.

Explore our selection of Weight Lifting Belts designed to provide firm support during your workout routines. These belts help stabilize your lower back and pelvis, allowing you to engage the pelvic floor muscles effectively without unintentional strain. Pair your routine with comfortable workout gloves from our Fitness & Workout Gloves collection to improve grip and prevent distractions caused by discomfort.
Don’t wait to enhance your pelvic floor strengthening efforts. Visit Armageddon Sports today to find quality fitness accessories that complement your Kegel training and overall wellness plan. Commit to your progress with gear that supports every contraction and release.
Frequently Asked Questions
How can I identify my pelvic floor muscles for Kegel exercises?
To identify your pelvic floor muscles, try stopping your urine flow while using the bathroom. Focus on the contraction you feel in the perineal area, ensuring you’re not tightening your abdomen, thighs, or glutes. Practice this sensation until you can replicate it without using the bathroom.
What is the correct position for performing Kegel exercises?
The best starting position for Kegel exercises is lying flat on your back with slightly bent knees and feet flat on the ground. This position allows your pelvic floor muscles to engage more easily without resistance from gravity. Spend at least one week practicing in this position before trying sitting or standing.
How should I perform Kegel exercises to maximize their effectiveness?
Perform Kegel exercises by slowly contracting your pelvic floor muscles and holding the contraction for 3 to 5 seconds while breathing normally. Aim for 8 to 12 repetitions per session, spacing your exercises throughout the day for optimal results. You should steadily increase both the hold duration and the number of repetitions over several weeks.
How can I track my progress with Kegel exercises?
Keep a simple log to track your muscle endurance, repetition capacity, and any improvements in urinary control. Write down your observations weekly, noting how long you can hold contractions and how often you experience leaks. Regularly assessing your progress helps identify trends and keeps you motivated.
What should I do if I’m not seeing progress with my Kegel exercises?
If you notice a plateau or are unsure about your technique, reevaluate your muscle engagement and ensure you’re only using your pelvic floor muscles. Consider seeking guidance from a pelvic health specialist who can provide personalized feedback on your exercises. Adjust your routine as needed to ensure you’re challenging your pelvic floor effectively.
How long will it take to see results from Kegel exercises?
You may start experiencing noticeable improvements in pelvic floor strength within 4 to 6 weeks of consistent practice. Focus on maintaining a regular routine and gradually increasing the intensity of your exercises to enhance your results over time.
Recommended
- Super Kegel Exerciser Bladder Control Device for Pelvic Floor Muscle Pelvis Correction Beautiful Buttocks Exerciser Bodybuilding – Armageddon Sports
- Resistance Band Abdominal Workout for Stronger Core Results – Armageddon Sports
- Butt Muscle Stimulator: Enhancing Fitness Results – Armageddon Sports
- How to Do an Effective Butt Workout: The Best Butt Exercises – Armageddon Sports