
Setting up for Blood Flow Restriction training can be the difference between mediocre results and real breakthroughs in your muscle growth journey. For dedicated weightlifters and bodybuilders across North America and Europe, taking the time to organize your space and select the right equipment means every rep works harder for you. Discover the simple actions that create a safer, more effective BFR workout and pave the way for greater performance and recovery.
Table of Contents
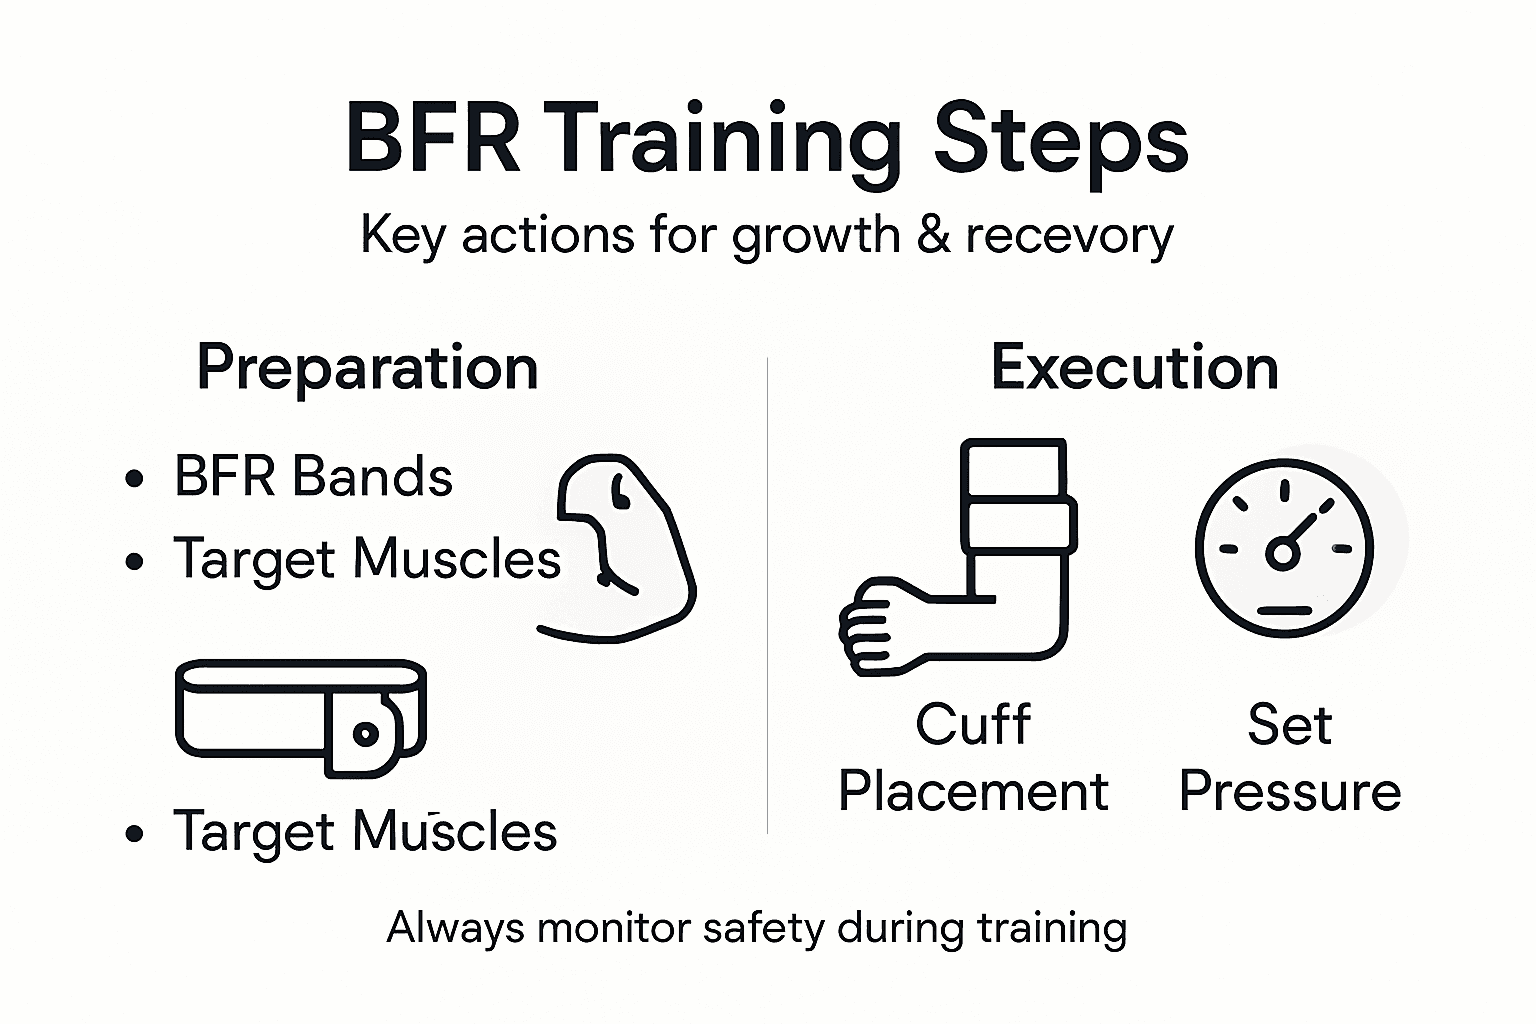
- Step 1: Prepare Your BFR Equipment and Workout Space
- Step 2: Select Target Muscles and Setup Proper Cuff Placement
- Step 3: Adjust Pressure and Perform BFR Training Sets
- Step 4: Monitor Safety and Track Muscle Fatigue
- Step 5: Evaluate Results and Refine Your BFR Routine
Quick Summary
| Key Point | Explanation |
|---|---|
| 1. Prepare Your BFR Setup | Create a clean, well-organized workout space with proper equipment to ensure safety and effectiveness. |
| 2. Correct Cuff Placement | Apply BFR cuffs strategically based on the targeted muscles for optimal training results and safety. |
| 3. Manage Pressure Carefully | Adjust pressure settings to achieve the right occlusion percentage while monitoring comfort to prevent injuries. |
| 4. Monitor Your Body’s Response | Keep track of sensations such as pain or numbness during workouts to ensure a safe training experience. |
| 5. Evaluate and Adjust Regularly | Periodically assess your training progress and refine your routine for continuous muscle growth and recovery. |
Step 1: Prepare Your BFR Equipment and Workout Space
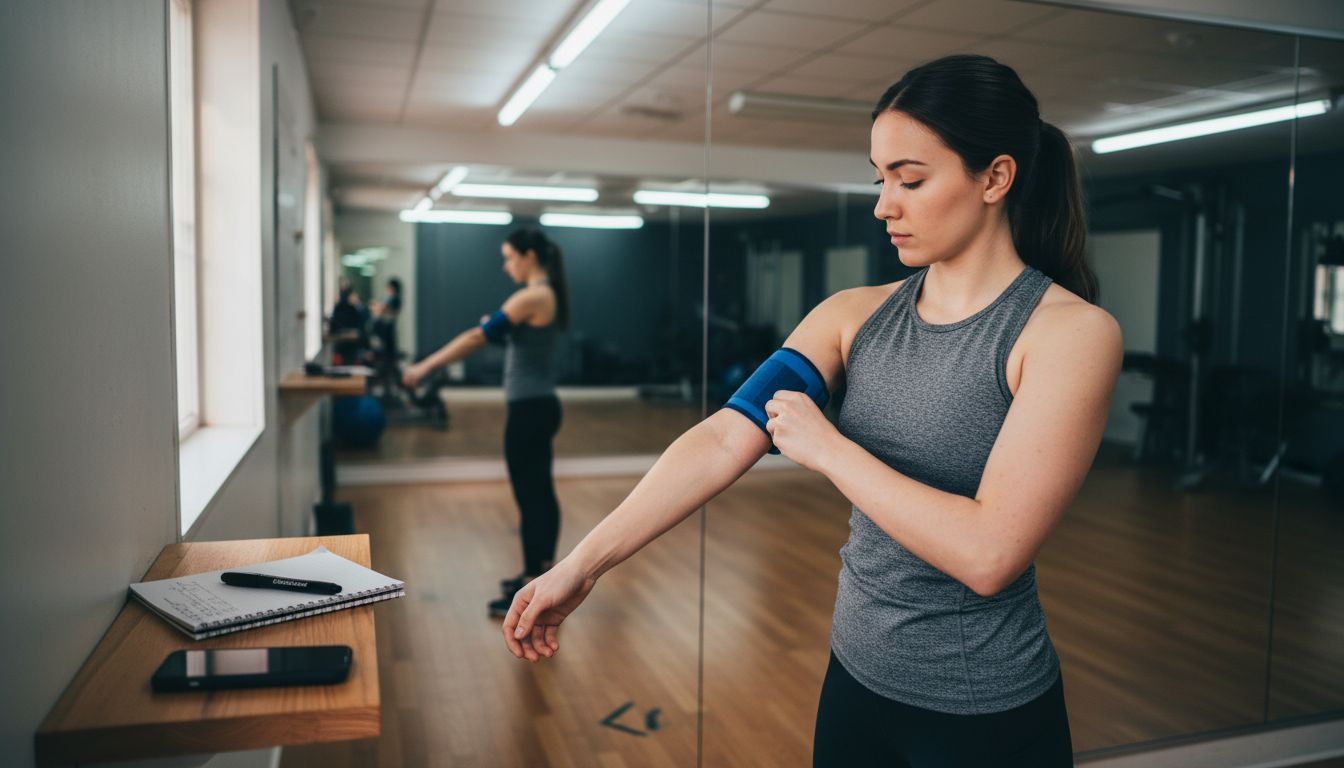
Preparing your Blood Flow Restriction (BFR) training environment is crucial for a safe and effective workout. Your goal is to set up a clean, organized space with the right equipment that allows precise pressure control and minimizes potential injury risks.
Start by selecting appropriate blood flow restriction bands designed for targeted muscle training. These specialized bands or pneumatic cuffs will help you restrict blood flow safely around your proximal limbs. When setting up your workout area, ensure you have ample clear space free from obstacles. Carefully learn to apply the cuffs correctly, focusing on proper placement and pressure calibration. Precise pressure control helps avoid excessive occlusion while maximizing muscle response and recovery potential.
Position your equipment within easy reach and create a structured setup that allows smooth transitions between exercises. This preparation minimizes disruptions and helps you maintain concentration throughout your training session. Establish a routine progression starting from passive use to active low-load exercises, which will help optimize your muscle response and recovery process.
Pro Tip: Before your first BFR session, practice applying the bands and adjusting pressure settings with a partner or trainer to ensure proper technique and comfort.
Step 2: Select Target Muscles and Setup Proper Cuff Placement
Selecting the right muscle groups and positioning your Blood Flow Restriction (BFR) cuffs correctly are fundamental to achieving optimal training results. Your approach will depend on your specific fitness goals and the muscle groups you want to target and develop.
When targeting muscles, focus on strategic cuff placement for maximum effectiveness. For upper body workouts, position the cuffs proximally on the upper arms to target biceps, triceps, and shoulder muscle groups. For lower body training, place the cuffs high on the upper thighs to engage quadriceps, hamstrings, and calves. The key is to restrict venous blood flow while maintaining arterial inflow, which creates the unique physiological environment that stimulates muscle growth and recovery.
Ensure your cuffs are snug but not overly tight. You want to achieve approximately 50 to 80 percent arterial occlusion without causing discomfort or risking nerve compression. Start with lower pressure settings and gradually increase as you become more comfortable with the technique. Always listen to your body and adjust placement or pressure if you experience any unusual sensations.
Here’s a quick reference for recommended cuff placement and pressure by muscle group:
| Target Area | Cuff Placement Location | Pressure Range (% occlusion) | Key Muscles Targeted |
|---|---|---|---|
| Upper Body | High on upper arms | 40-60% | Biceps, triceps, shoulders |
| Lower Body | High on upper thighs | 60-80% | Quadriceps, hamstrings, calves |
Pro Tip: Consider using a marker to note your ideal cuff placement locations to maintain consistency across different training sessions.
Step 3: Adjust Pressure and Perform BFR Training Sets
Blood Flow Restriction training requires precise pressure management and strategic exercise selection to maximize muscle growth while minimizing joint stress. Your goal is to create an optimal metabolic environment that stimulates rapid muscle adaptation and recovery.
Start by carefully measuring limb occlusion pressure using individualized techniques. For upper body workouts, aim for 40 to 60 percent arterial occlusion, while lower body training typically requires 60 to 80 percent pressure. Execute your training sets using low resistance exercises around 20 to 30 percent of your one-repetition maximum (1RM), focusing on higher repetition ranges. This approach creates significant metabolic stress without excessive joint loading, allowing you to stimulate muscle hypertrophy effectively.
Throughout your sets, monitor your body’s response closely. The pressure should create a sensation of tightness without causing pain or numbness. Perform multiple sets with short rest periods between them, typically 30 to 60 seconds. As you become more experienced, you can fine tune the pressure and exercise selection to match your specific fitness goals and muscle development targets.
Pro Tip: Keep a training log to track your pressure settings, allowing you to replicate successful sessions and progressively adjust your BFR training approach.
Step 4: Monitor Safety and Track Muscle Fatigue
Blood Flow Restriction training requires constant vigilance to ensure your safety and optimize muscle development. Your primary objectives are to recognize potential risks and effectively assess your body’s response during the workout.
Safety monitoring during BFR training involves carefully observing your body for warning signs such as excessive pain, unusual numbness, or limb discoloration. Pay close attention to muscle fatigue by using perceived exertion scales and tracking physiological indicators like muscle pump and swelling. Be prepared to take periodic breaks that allow blood reperfusion and prevent potential ischemic damage. Individuals with pre-existing medical conditions should consult healthcare professionals before starting BFR training and should incrementally increase pressure and workload as their body adapts.
Utilize both qualitative and quantitative methods to track your progress. This includes rating your perceived exertion, counting completed repetitions, and measuring time under tension. By maintaining a structured approach to monitoring your body’s responses, you can ensure that your Blood Flow Restriction training remains both safe and effective.
Use this table to compare BFR training safety checks and progress tracking methods:
| Aspect | Safety Checks | Progress Tracking |
|---|---|---|
| Subjective Sensation | Monitor for pain or numbness | Rate perceived exertion after sets |
| Physical Indicators | Watch for limb discoloration | Measure muscle pump and swelling |
| Frequency | Check during each session | Log repetitions and time under tension |
Pro Tip: Create a standardized tracking sheet to record your pressure settings, fatigue levels, and physical responses for each training session.
Step 5: Evaluate Results and Refine Your BFR Routine
Mastering Blood Flow Restriction training requires systematic assessment and continuous refinement of your approach. Your goal is to transform initial techniques into a personalized, results-driven workout strategy that maximizes muscle growth and recovery potential.
Tracking muscle size and strength progression demands a multifaceted approach. Utilize objective measures like muscle circumference measurements, performance metrics, and subjective feedback on fatigue and muscle response. Systematically record your training variables including cuff pressure, exercise selection, repetition ranges, and recovery times. This data will help you understand how your body responds to Blood Flow Restriction training and identify opportunities for optimization.
Incorporate periodization strategies by alternating between traditional resistance training and BFR techniques. This approach prevents training plateaus, reduces injury risks, and ensures continuous muscle adaptation. Reassess your routine every four to six weeks, making incremental adjustments to pressure settings, exercise variations, and overall training volume. Pay attention to both quantitative performance indicators and how your body feels during and after workouts.
Pro Tip: Create a comprehensive training journal that captures not just your performance metrics but also your subjective experience, allowing for more nuanced routine refinement.
Take Your BFR Training to the Next Level with Armageddon Sports
Mastering Blood Flow Restriction training means focusing on key challenges like precise pressure control and effective muscle targeting to maximize growth while avoiding injury. If you are ready to refine your technique with high-quality, reliable equipment, explore our Buy Resistance Training Bands- Armageddon Sports collection designed for optimal fit and safe occlusion. These specialized bands are essential for comfortable cuff placement and consistent pressure, helping you push your workouts further with confidence.
Experience the difference proper gear can make in your muscle recovery and growth journey. Visit Armageddon Sports now to shop for professional-grade equipment including Shop Arm Workout Equipment -Armageddon Sports products that enhance your BFR sessions. Don’t wait to elevate your training results. Start equipping yourself with the best today and see faster improvements with safer, smarter Blood Flow Restriction workouts.
Frequently Asked Questions
What equipment do I need for Blood Flow Restriction training?
To begin Blood Flow Restriction training, you will need specialized blood flow restriction bands or pneumatic cuffs. Make sure to prepare your workout space by ensuring it’s clean and organized with easy access to your equipment.
How do I properly place BFR cuffs on my body?
For effective BFR training, place the cuffs high on your upper arms for upper body workouts and high on the upper thighs for lower body exercises. Ensure the cuffs are snug yet comfortable, aiming for around 50 to 80 percent arterial occlusion without causing pain.
What pressure settings should I use during BFR training?
Start with lower pressure settings of about 40 to 60 percent occlusion for upper body exercises and 60 to 80 percent for lower body exercises. Gradually adjust the pressure as you become more comfortable, while always monitoring for tightness without pain.
How can I track my progress in BFR training?
To monitor your progress, keep a training log that includes your pressure settings, repetitions, and perceived exertion levels. Check your muscle size and performance metrics regularly, ideally every four to six weeks, to see improvements in muscle growth and recovery.
What safety precautions should I take during BFR training?
Constantly monitor for signs of pain, numbness, or discolored limbs during your workout. Be prepared to take breaks to allow blood to flow back into the limbs and consult a healthcare professional if you have any pre-existing conditions before starting BFR training.
How long should my BFR training sessions last?
Aim for shorter, focused BFR training sessions, typically with multiple sets of exercises and short rest periods of about 30 to 60 seconds between sets. Keep track of your body’s response to ensure a safe and effective workout experience.
Recommended
- BFR Bands Blood Flow Restriction Bands Cuffs Occlusion Straps for Arms Biceps Legs Wraps Kaatsu Full Set of 4 – Armageddon Sports
- Strength Training: Transforming Fitness at Home – Armageddon Sports
- Best Arm Blaster Biceps Curl Support Bicep Isolator Bar Bomber Arnold Machine – Armageddon Sports
- Thick & Fat Grips Bar Training Adapters Alternative Workout Forearms Strength Builder for Weights Barbell Dumbells Sillicone Rubber – Armageddon Sports


