
Choosing resistance bands for home workouts can feel confusing when there are so many types and tension levels available. For American fitness fans seeking better muscle tone and workout efficiency, knowing how to pick and use the right bands is the first step to real results. This guide delivers clear, actionable strategies, from selecting the ideal resistance bands to preparing a safe workout space and perfecting your exercise technique for lasting improvements.
Table of Contents
- Step 1: Choose the Right Resistance Bands for Your Goals
- Step 2: Prepare Your Workout Space and Warm Up
- Step 3: Position and Secure Bands for Optimal Safety
- Step 4: Execute Core Toning Exercises with Proper Form
- Step 5: Verify Technique and Track Progress for Improvement
Quick Summary
| Key Takeaway | Explanation |
|---|---|
| 1. Choose the Right Bands | Select resistance bands based on your fitness level and targets to maximize effectiveness and safety. |
| 2. Prepare Your Space | Ensure a clear, safe, and functional workout area with non-slip surfaces and accessible equipment. |
| 3. Secure Bands Properly | Position and anchor resistance bands correctly to prevent injuries and ensure effective workouts. |
| 4. Focus on Form | Maintain proper alignment during exercises to enhance effectiveness and reduce the risk of injury. |
| 5. Track Your Progress | Document your workouts and technique to identify improvements and adjust your resistance as needed. |
Step 1: Choose the Right Resistance Bands for Your Goals
Selecting the perfect resistance bands is crucial for achieving your specific fitness objectives. Different bands offer varied levels of tension and versatility, making your choice an essential first step in building an effective home workout routine. When evaluating resistance bands, you’ll want to consider factors like your current fitness level, specific muscle groups you want to target, and the types of exercises you plan to perform.
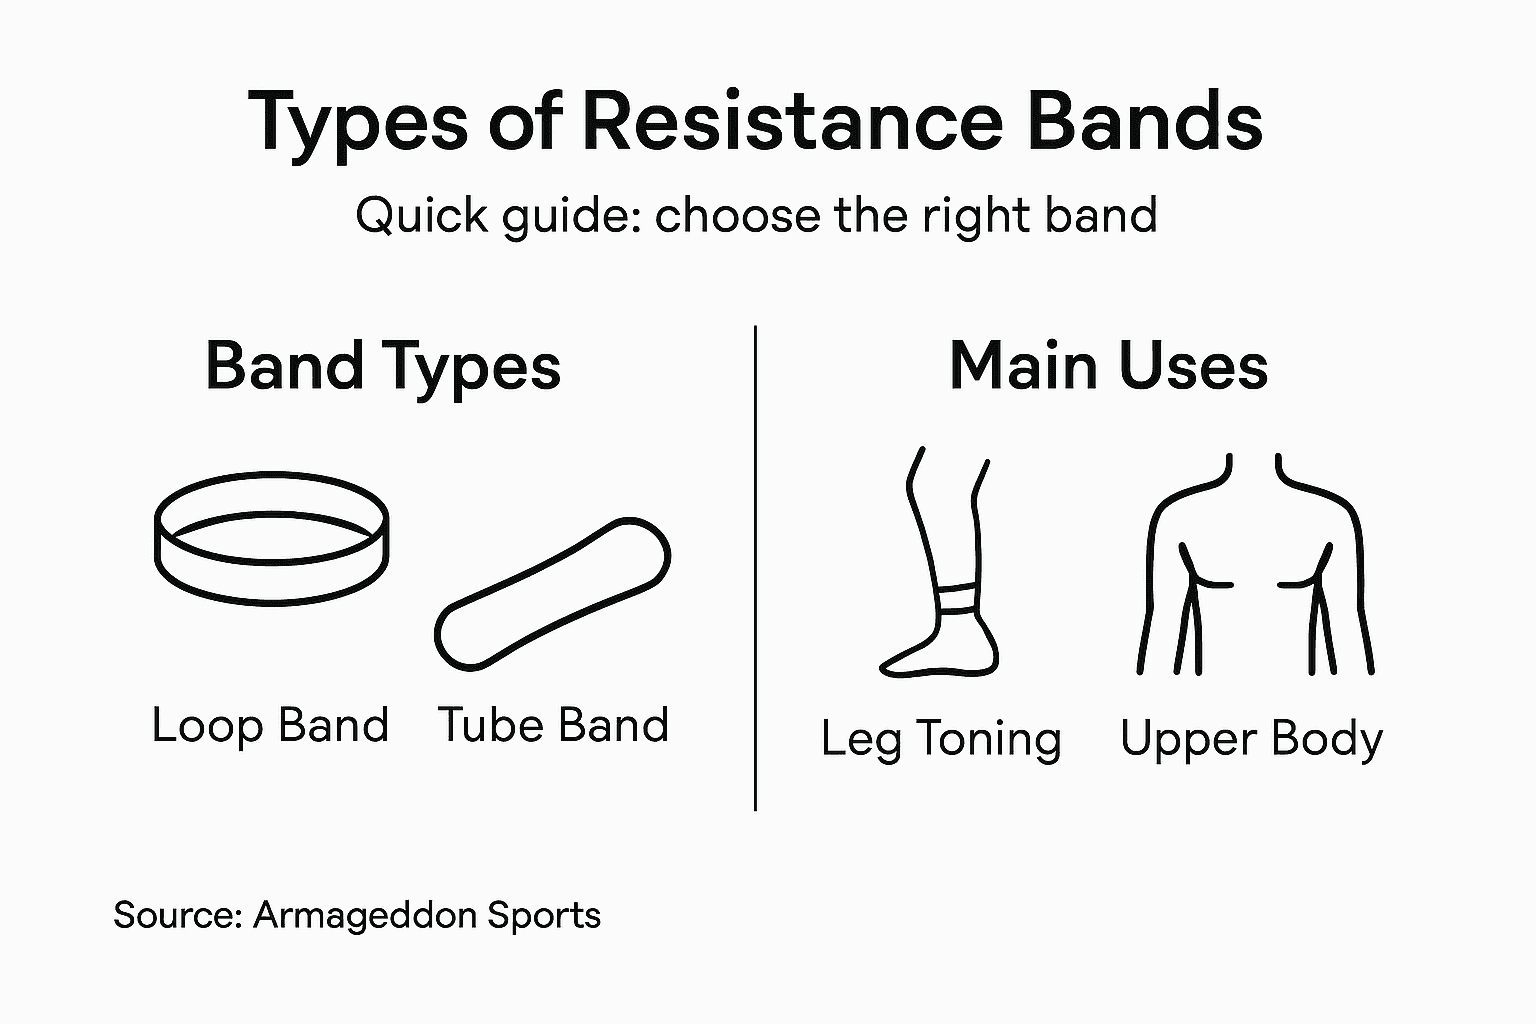
Resistance bands come in multiple styles and resistance levels. Assisted pull up bands comparison can help you understand the nuanced differences between band types. Generally, you’ll encounter loop bands, tube bands with handles, and flat therapy bands. Loop bands work great for lower body and glute exercises, while tube bands with handles provide more upper body workout options. Beginners should start with lighter resistance and progressively increase tension as strength improves.
When choosing bands, check the maximum weight resistance. Most standard sets range from 10 to 150 pounds of tension. Assess your current strength level and select a set that provides multiple resistance levels, allowing you to progress and challenge yourself over time. Look for bands made from durable latex or fabric materials that can withstand repeated stretching without losing elasticity.
Here’s a quick comparison of common resistance band types and their primary uses:
| Band Type | Typical Applications | Key Benefit |
|---|---|---|
| Loop Bands | Glutes, thighs, squats | Ideal for lower body strength |
| Tube Bands with Handles | Chest press, rows, shoulder work | Great for upper body exercises |
| Flat Therapy Bands | Rehab, flexibility, pilates | Excellent for stretching and rehab |
Pro Tip: Always inspect your resistance bands before each workout for signs of wear or micro tears to prevent potential injury during exercise.
Step 2: Prepare Your Workout Space and Warm Up
Transforming your home into an effective workout zone requires strategic planning and thoughtful preparation. Physical activity basics emphasize the importance of creating a safe and functional exercise environment. Begin by selecting a clear area with enough space to move freely without obstacles. Ideally, choose a location with a non slip surface like hardwood floors or an exercise mat that provides stability and cushioning for your resistance band workout.
Preparing for your resistance band routine involves more than just clearing space. A proper warm up is critical to prevent injury and maximize performance. Spend 5 to 10 minutes engaging in light cardio movements such as marching in place, gentle arm circles, or dynamic stretches that activate major muscle groups. These preparatory exercises increase blood flow, enhance muscle flexibility, and mentally prime your body for the upcoming workout. Focus on movements that mimic the resistance band exercises you plan to perform, gradually increasing your heart rate and muscle temperature.
Ensure your workout area is well lit and free from potential hazards like furniture edges or loose rugs that could cause tripping. Keep a water bottle nearby, have a towel ready, and position your resistance bands within easy reach. Create a dedicated space that signals to your brain it is time to focus and exercise, helping you maintain motivation and consistency in your fitness routine.
Use this summary to guide your workout preparation effectiveness:
| Preparation Element | Why It Matters | Action Required |
|---|---|---|
| Clear Space | Prevents accidents | Remove obstacles from area |
| Non-Slip Surface | Provides safety | Use mat or hardwood floor |
| Warm Up Routine | Activates muscles | 5-10 mins dynamic movement |
| Equipment Ready | Maintains momentum | Lay out bands/towel/water |
Pro Tip: Lay out all your resistance bands and equipment before starting your warm up to minimize interruptions and maintain workout momentum.
Step 3: Position and Secure Bands for Optimal Safety
Positioning and securing resistance bands correctly is crucial for both effective workouts and preventing potential injuries. Resistance band workout techniques emphasize the importance of proper anchoring and tension management. Before beginning any exercise, inspect your resistance bands for signs of wear, checking for small tears or fraying that could compromise their structural integrity.
When setting up your resistance bands, focus on creating a stable anchoring system. For floor exercises, you can secure bands under your feet by standing on the middle of the band and gripping the handles firmly. For upper body movements, attach bands to a sturdy door anchor at chest height, ensuring the anchor point is robust and will not slip during your workout. Always maintain a controlled grip and adjust the band slack to match your strength level and specific exercise requirements.

Maintain proper body alignment throughout your exercises to maximize safety and effectiveness. Position yourself so the band provides consistent resistance without allowing it to snap back or create uncontrolled movement. Keep your core engaged, maintain good posture, and move through each repetition with deliberate, controlled motions. This approach helps distribute tension evenly and reduces the risk of unexpected band slippage or potential muscle strain.
Pro Tip: Test the band’s tension and anchoring before performing full repetitions by applying gentle pressure and checking for stability.
Step 4: Execute Core Toning Exercises with Proper Form
Core toning with resistance bands requires precise technique and intentional muscle engagement. Exercise effects on body mechanics highlight the importance of controlled movements that maximize muscle activation while minimizing injury risk. Your goal is to create tension through deliberate, slow motions that challenge your core muscles without compromising spinal alignment.
Start with fundamental core exercises like seated rows, side bends, and resistance band rotations. Anchor the band securely under your feet or to a stable surface, maintaining a neutral spine throughout each movement. Focus on engaging your abdominal muscles by drawing your navel toward your spine, which helps stabilize your core and prevent unnecessary strain. Breathe steadily and avoid using momentum to complete repetitions imagine moving through molasses to maintain muscle tension and control.
When performing resistance band core exercises, pay close attention to your body positioning. Keep your shoulders relaxed, chest open, and core tight. Perform each repetition with a full range of motion while maintaining consistent tension on the band. Slow, controlled movements are far more effective than rapid repetitions that sacrifice form. Aim for 12 to 15 repetitions per set, adjusting band resistance to match your current strength level and fitness goals.
Pro Tip: Use a mirror or record yourself to verify your form and ensure you are maintaining proper alignment during resistance band core exercises.
Step 5: Verify Technique and Track Progress for Improvement
Tracking your resistance band workout progress goes beyond simply counting repetitions. Physical activity measurement techniques reveal that systematic evaluation helps you understand your fitness journey and make informed adjustments. Your goal is to create a comprehensive approach that monitors not just what you do, but how effectively you perform each exercise.
Start by creating a detailed workout log that captures multiple dimensions of your resistance band training. Record specific details like resistance band tension level, number of sets and repetitions, perceived exertion, and how your body feels during and after each session. Pay attention to your form by periodically recording video demonstrations of your exercises. This visual feedback allows you to compare your technique over time and identify subtle improvements or areas requiring correction. Look for consistent muscle engagement, smooth movement patterns, and maintenance of proper alignment throughout each exercise.
Consider using digital tracking tools or a simple notebook to document your progress. Note any changes in strength, flexibility, or muscle definition. Pay attention to how your body responds to different resistance levels and exercise variations. If you notice persistent discomfort or lack of progression, do not hesitate to adjust your technique or consult a fitness professional who can provide personalized guidance. Remember that progress is not linear continuous small improvements accumulate into significant fitness gains over time.
Pro Tip: Take progress photos every 4 to 6 weeks wearing the same clothing to objectively track your physical transformation.
Achieve Your Toning Goals with Quality Resistance Bands from Armageddon Sports
Struggling to find reliable resistance bands that match your fitness goals and provide safe, effective toning? This article highlights the importance of selecting the right resistance bands, securing them properly, and maintaining proper form to maximize results while avoiding injury. If you’re ready to take control of your home workouts and see noticeable core toning improvements, the right equipment is essential. Explore our wide selection to find durable bands designed to meet varying resistance levels and workout needs.

Start your transformation today by visiting Buy Resistance Training Bands- Armageddon Sports for premium quality bands that help you train with confidence. Whether you are targeting core strength or full-body toning, complement your routine with gear from our Shop Women’s Health & Workout Equipment- Armageddon Sports or Shop Men’s Health & Workout Equipment- Armageddon Sports collections. Don’t wait to build your ideal home gym setup and unlock your fitness potential. Visit Armageddon Sports now and seize exclusive offers designed to elevate your workout experience.
Frequently Asked Questions
How do I choose the right resistance bands for my fitness goals?
Selecting the right resistance bands depends on your current fitness level and the muscle groups you want to target. Assess your strength and choose bands with varying tension levels to allow for progression over time.
What are some effective core toning exercises I can do with resistance bands?
Effective core toning exercises with resistance bands include seated rows, side bends, and resistance band rotations. Start with 12 to 15 repetitions for each exercise, adjusting the band resistance to match your strength level.
How should I warm up before using resistance bands?
Before starting your resistance band workout, engage in a proper warm-up for about 5 to 10 minutes to prevent injury. Incorporate light cardio movements or dynamic stretches that activate major muscle groups, preparing your body for exercise.
How do I ensure my resistance bands are safe to use?
Always inspect your resistance bands for signs of wear and tear before each workout to prevent injury. Check for any micro tears or fraying and replace any bands that show signs of damage.
How can I track my progress while using resistance bands?
To track progress effectively, keep a detailed workout log including the resistance level, sets, repetitions, and how your body feels during sessions. Review this log regularly to identify improvements and adjust your routine as needed.
What is the correct way to position and secure resistance bands during exercises?
Position and secure your resistance bands by anchoring them under your feet or to a sturdy anchor point. Ensure the band provides consistent tension while maintaining proper body alignment to maximize effectiveness and safety.
Recommended
- Booty Hip Resistance Fabric Non Slip Bands Set of 3 by ArmageddonSport – Armageddon Sports
- Best Hip Resistance Loop Bands Set for Glutes Booty and Butt Workout – Armageddon Sports
- Buy Resistance Training Bands- Armageddon Sports
- Resistance Exercise Bands Set (11pcs) with Handles, Door Anchor Workout Portable Home Gym Accessories - Stackable Up to 150 lbs – Armageddon Sports


